How to Add and Configure a Ticket Scanner
This guide shows you how to add and configure a new scanner in Tickxts. Follow the steps below:
1) On the main menu, go to Tools > Ticket Scanners. If you are using the organiser app, tap Scanners in the bottom menu.
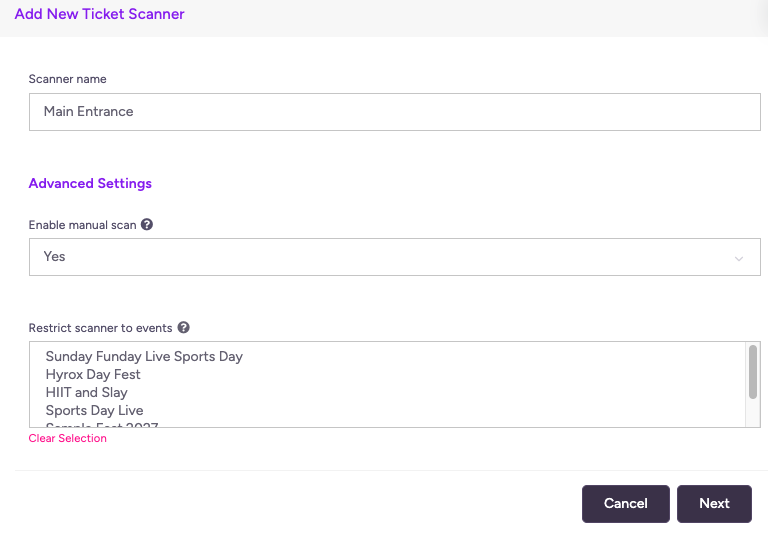
2) Click add new scanner. Enter a name for the scanner (e.g Main Entrance Scanner), then click Next.
3) Download the Tickxts Scanner App from the App Store or Google Play Store.
4) Open the app. You will be asked for a Pairing Code and a Pin Code (displayed on the dashboard after Step 2).
5) Enter the codes and press Pair Scanner.
6) Once paired, select your desired event and proceed to the QR scanning option to start scanning tickets.
Advanced Options
You can control which events the scanner has access to and also ticket types the scanner can scan. This is useful if you’re managing multiple events at once or need to limit scanning access to certain tickets.
1) Under Advanced Settings, use the dropdown in Restrict Scanner to Events to select the event you want the scanner to be used for (e.g. Sports Day Live, Hyrox Day Fest).
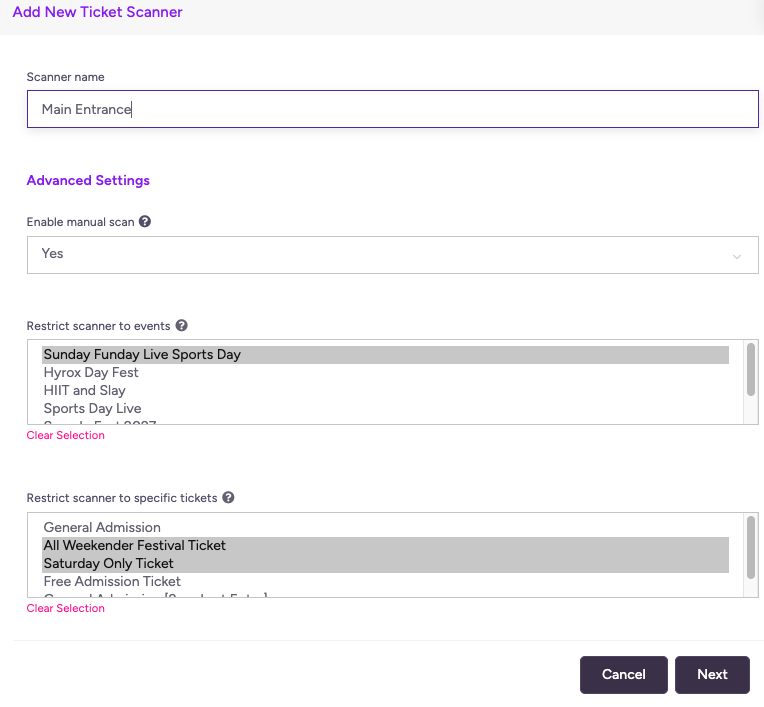
2) To restrict the scanner to a specific ticket type, click on the event under Restrict Scanner to Events. Then, choose one or more ticket types from the dropdown list under Restrict Scanner to Specific Tickets (e.g., VIP Ticket, Saturday Only Ticket, or General Admission Ticket).
Last updated: 10 months ago
Published: 5th Jan, 2022